After determining the stem height on a bicycle, most people want to cut off the excess steerer tube length that pokes up over the top of the stem. This posting illustrates how I did this to my 2009 Specialized S Works Tarmac SL2 bicycle.
I was initially hesitant about doing a job like this because if I didn't do it right, I might have had to buy a new fork. I took my time, and used a little trick, and it turned out successfully.
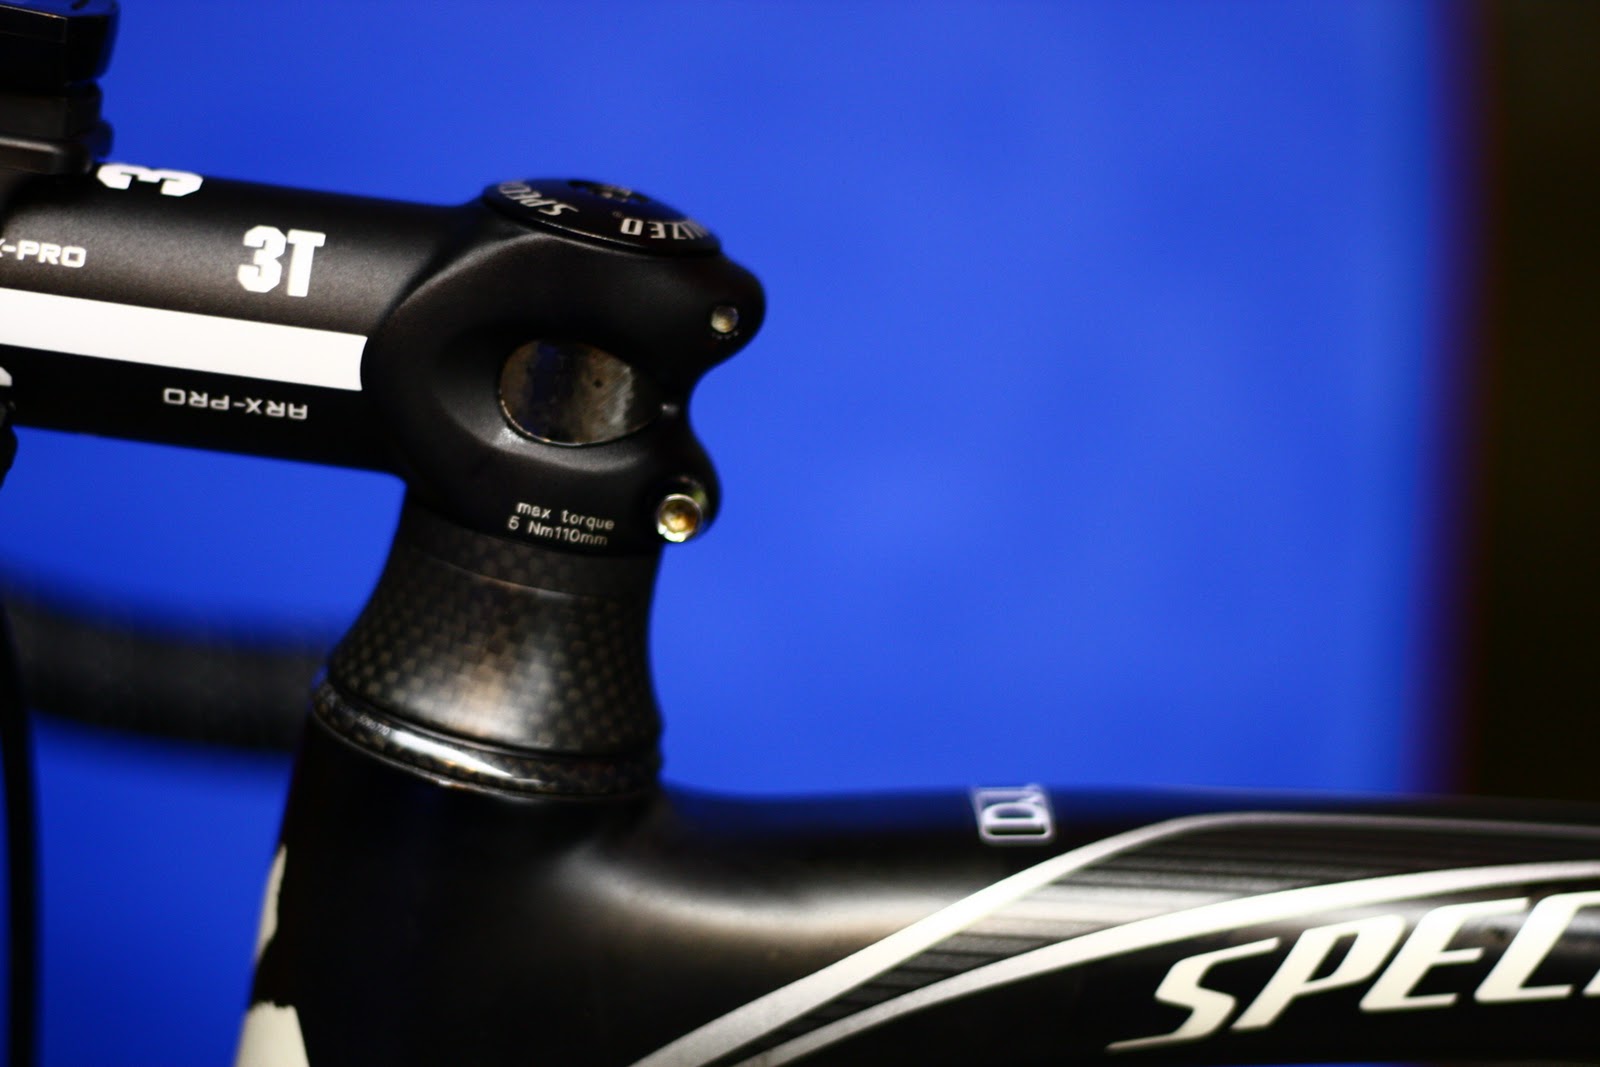
The Before Condition:
This is the before condition. Very "Fredly". You
won’t see any pros with a setup like this. After living with this condition for
two years, I decided to take care of it myself, rather than taking it to my
LBS.

Custom Tool:
The first step is to make a mark on the
steerer tube at the highest point of the stem as it surrounds the steerer tube. Locating the point to mark is a little tricky, because when you release the tension that is squeezing the whole stack together, any mark you make could be just a little bit high. So I took a spacer and cut out a section of it to serve as my special marking tool.

Making the Initial Mark:
After inserting my marking tool just above the stem, and then adding the other spacers and re-tensioning the whole assembly, I am ready to make the critical mark using the gap created by my marking tool. The screw driver points to where I will make my mark.

Making the Cut Mark:
After disassembling, I measured 3mm lower than my initial mark, and made a mark using a silver Sharpie. This is where the actual cut will be made. Note that the steerer tube plug has been removed.

Using the Saw Guide Tool:
You must use a saw guide tool to ensure a perfect cut. I used the Park SG-8, along with a special carbon fiber cutting hack saw blade.


Making the Cut:
I chose to keep the fork in the bicycle while cutting. I did this to save some time, but it was a mistake. It takes more sawing force than I had anticipated, and doing it in this position was pretty awkward. Below you can see the steerer tube after the cut. It turned out perfectly.

Re-assembly of the Steerer Tube Plug:
This piece had to be removed prior to making any cuts. It is tensioned into the inner surface of the steerer tube to act as an anchor for the cap nut. Here I am applying the recommended torque setting of 9.0 N-m..

Completion:
Top cap has been re-installed. Note that it sits directly on top of the stem. No excess tube sticking up. Now that's a pro look!

.
No comments:
Post a Comment